Unboxing
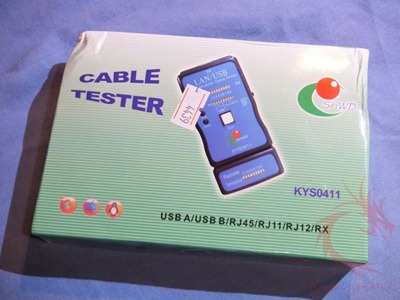
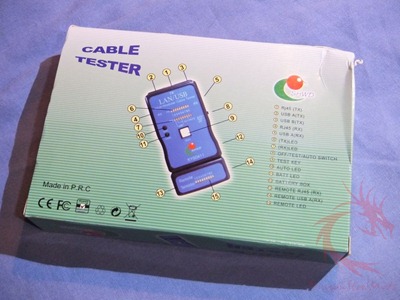
As usual we’ll start with the box. On it you’ll find a handy diagram showing telling you all about the tester and what everything is and does.
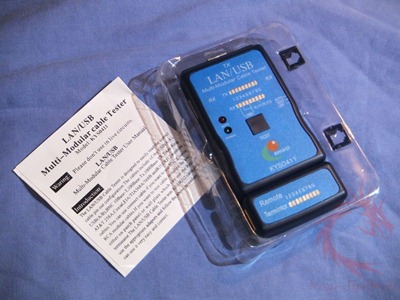
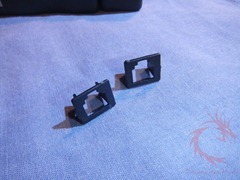
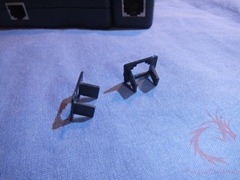
Inside of the box you’ll find a plastic tray housing the tester and two adapters for use with regular phone lines along with a very brief instruction manual.
The adapters are just small pieces of plastic that clip into the Ethernet jacks making them smaller basically.
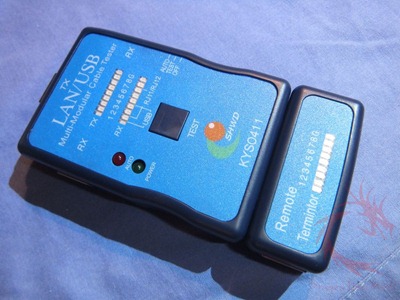
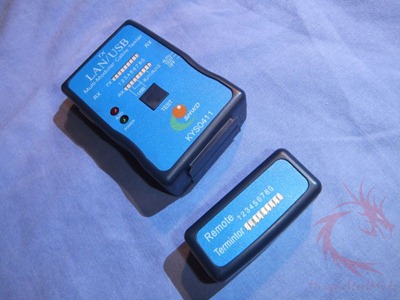
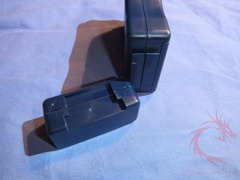
Here’s the tester itself, it’s plastic and very lightweight. Yes it’s thin and feels kind of cheaply made, I think I’d be afraid to drop it from any real height for fear of breaking it. The tester is in two parts, the larger main section with LEDs and test button and then a smaller remote section that detaches from the main unit for remote testing.
The remote section is held on very securely, I have to say it’s rather hard to get off and on which is a good thing I guess.
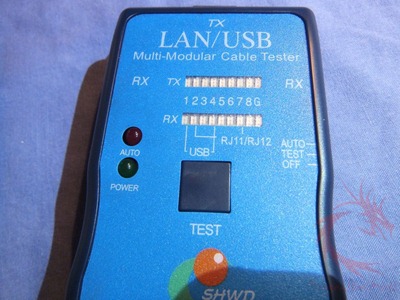
On the front of the test you’ll see two lines of numbers and lettered LEDs to correspond with the wires in the cables you’re testing. There are two LEDs down to the left, on to indicate power and one for auto testing mode. The large black square is the testing button. The tester has two modes, manual and auto. In manual mode you push the button each time to test the wires, in auto mode the tester scrolls through all of the wires automatically.
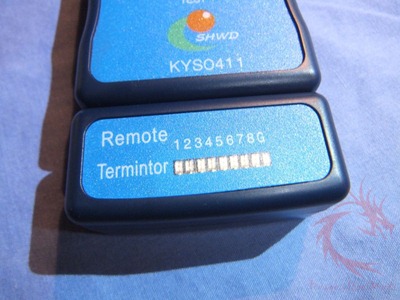
The remote section just has a single line a numbered and lettered LEDs that correspond to those on the main unit.
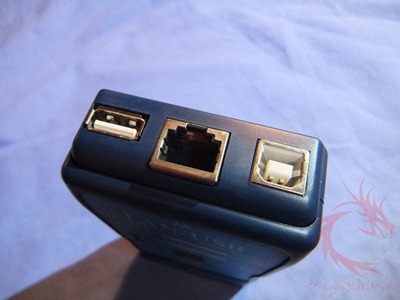
On the top edge of the main unit you’ll find USB A and B connections along with an Ethernet jack.
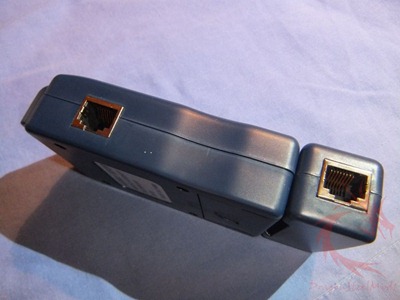
On the left side on the main unit in another Ethernet jack and on the left of the remote is an Ethernet jack.
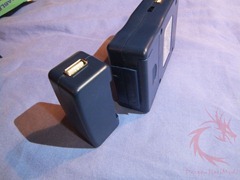
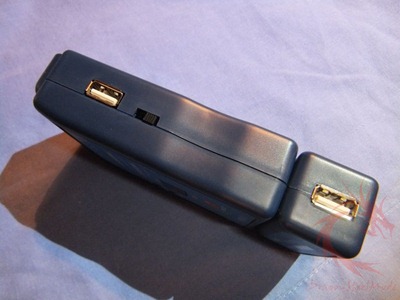
On the right side of the main unit you’ll side a regular USB jack and the main switch which is three position for off, manual and auto. On the right side of the remote tester is another standard USB jack.
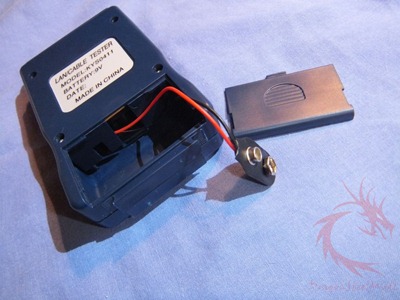
Moving to the back of the unit you won’t find much just a label and a battery compartment. You’ll need a regular 9V battery to power the tester, there is not one included.

