Installation and Testing
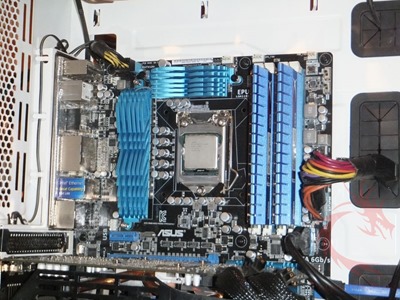
To test the Noctua NH-U12S Cooler I got my system ready to go removing the cooler I had on there which happened to be the Cooler Master Seidon 120 XL. The CPU is an Intel Core i7 2600K on an ASUS Z68 based motherboard.
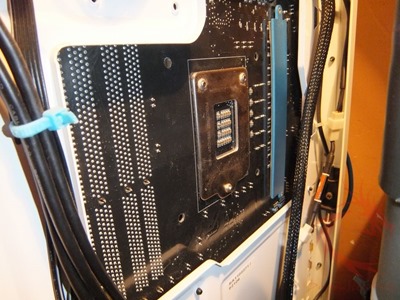
Socket 1155 has a metal back plate already on it with three screws that protrude from it.
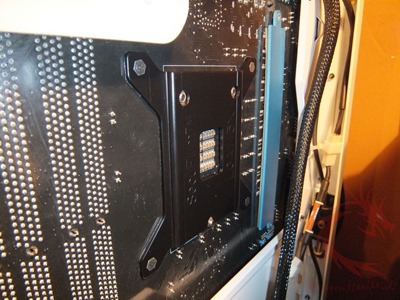
The Noctua SecuFirm2 back plate has holes in the appropriate place to clear the screws. Installation requires you to line up the back plate and essentially push it through your motherboard.
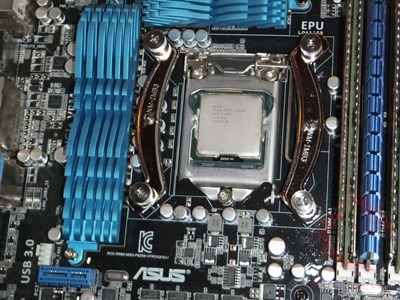
To complete the installation you just need to gather the parts which would be four plastic large washers, two brackets and four thumbscrews. Just set everything in place and secure with the screws and you’re done. I mounted the cooler sideways up up and down in a vertical position so the mounting brackets were installed vertically as well.
To complete the installation you’ll need to apply the thermal compound, I of course used the included Noctua NT-H1 and the fasten the NH-U12S to the mounting brackets using the supplied screwdriver.
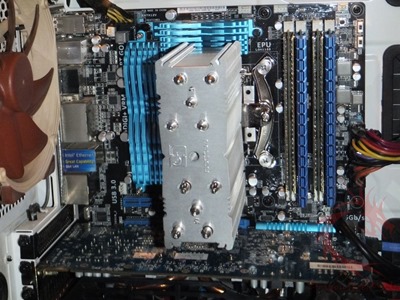
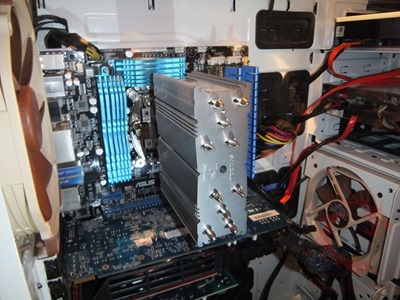
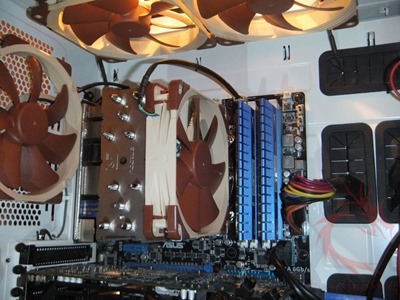
I have two 8gb sets of ram installed in my system, one is a larger style and the other is stand short size. The NH-U12S has no problems clearing the larger ram without the fan attached.
There’s plenty of room on the back of the NH-U12S as well, more than enough clearance for a second fan.
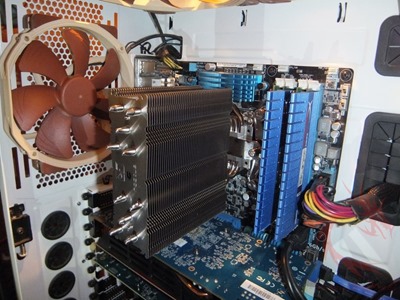
Here’s another view showing the clearance to the video card which is an AMD 7870. As you can see there’s more than enough room between the cooler and card.
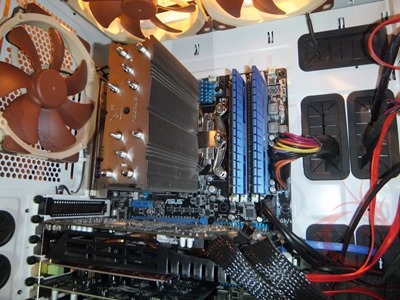
Next up was to install the fan, it’s simple using the provided clips. Once the fan is installed there’s still plenty of room between the cooler and the ram, but it’s very close. The larger ram is in the second slot of my motherboard, and the fan comes right up to the first slot, but there would still be room if I put the ram in the first slot.
Overall I’d have to say installation is fairly easy, I was done in just a few minutes but I also didn’t have to remove my motherboard from the case as it features a cut-out on the motherboard tray for access to the rear of the board. I think the majority of cases out there these days have this feature, but if you case doesn’t then you’ll need to remove the motherboard from the case which will add more steps and time to your installation.

