There are a few companies that stand out when you think of PC cases, and most people would agree that Thermaltake is one of them. They've been around for quite a while and have a large selection of PC cases that will fit any budget or type of system build. My experience with their products has always been a good one, and they are a company that is constantly improving their products for the better.
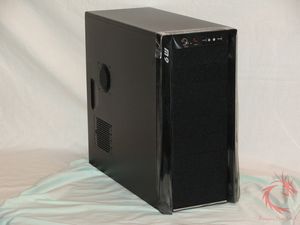
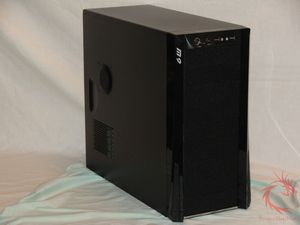
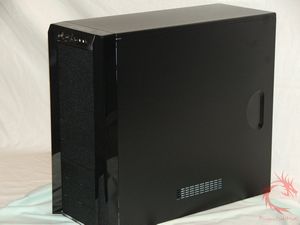
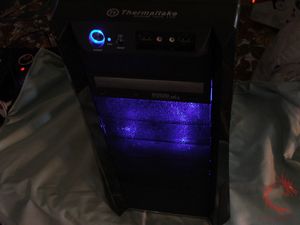
Today for review I've got the Thermaltake M9 ATX case, it's a mid-tower style case that is sort of a basic case but offers some nice features and looks good as well. Aesthetically the M9 is very pleasing with an almost solid black exterior, nice contour lines and an overall sense of style to it. When powered on the blue LEDs of the included fans make a nice contrast with the black and make for a very nice presentation, its also quiet and does a decent job of keeping your system cool.
So continue on to learn more about the Thermaltake M9…
Thermaltake M9 Mid-Tower PC Case
Author: Kristofer Brozio
Sponsor: Thermaltake
Tech Specs,Features or the Basic Info:
Features:
Glossy finish
9 Drive Bays – 9 5.25” drive bay, swappable to 3.5” drive bay using HDD cage
High efficiency ventilation: 120mm silent fan in front and rear
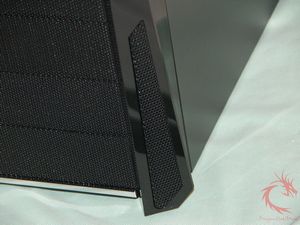
Metal grilled front bezel for maximum air intake
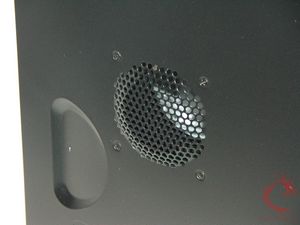
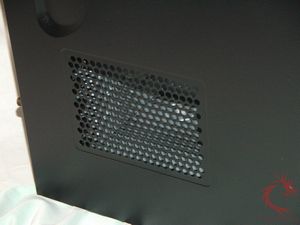
Air guide and openings on side panel enhance CPU & VGA heat dissipation
Tool-free installation for 5.25” drive bays and add-on cards
Specs:
Ventilation:
120mm blue LED front fan to cool hard drives
Back 120mm fan for exhausting hot air
CPU & VGA card venting hole
Side panel with air duct for maximum CPU cooling
Free-flowing design
Structure (Internal):
Tool-free installation for 5.25” drives
Tool-free PCI slots
Front removable HDD cage for up to 3 hard disk drives
FDD & HDD rack for 5.25” drive installation
Structure (External):
USB x 2, HD Audio
Easy access Power & Reset
EMI clips
Model: VI1000BNS
Case Type: Middle Tower
Net Weight: 6.6 kg / 14.6 lb
Dimension: (H*W*D) 440.0 x 200.0 x 495.0 mm (17.3 x 7.9 x 19.5 inch)
Cooling System:
Front (intake) : 120 x 120 x 25 mm blue LED fan, 1300rpm, 17dBA
Rear (exhaust) : 120 x 120 x 25 mm, 1300rpm, 17dBA
Drive Bays
– 5.25" Drive Bay 9 or 6
– 3.5" Drive Bay 1 (Converted from one 5.25” bay)
– 3.5 " Drive Bay 3 (Hidden)
Material:SECC
Color: Black
Expansion Slots: 7
Motherboards: Micro ATX , Standard ATX
{mospagebreak title=
A Better Look at Things
-Outside}
A Better Look at Things
-Outside:
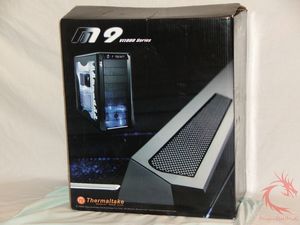
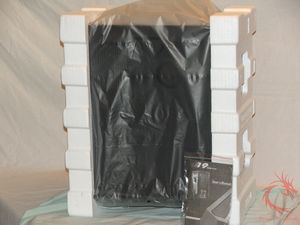
The Thermaltake M9 comes nicely packaged in an attractive black themed box to represent the case inside which is also black. The case is of course packaged very well, with plastic covering it and stryofoam padding.
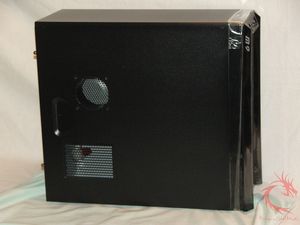
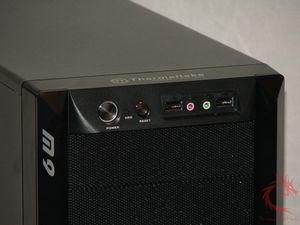
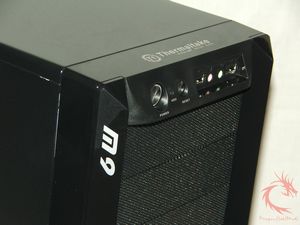
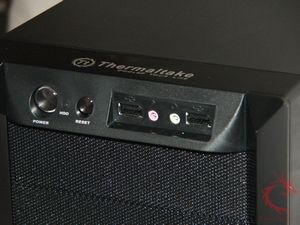
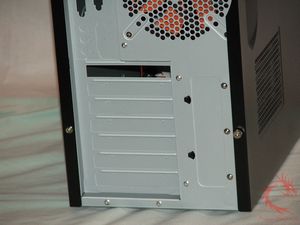
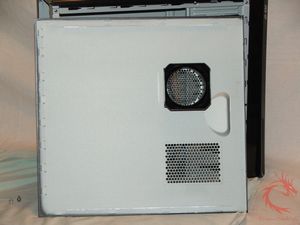
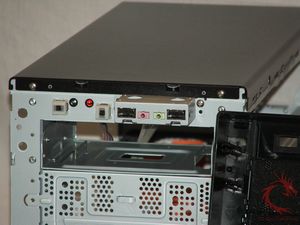
As mentioned the M9 case is black, with a couple white and silver accents in the form of the Thermaltake name, M9 logo and the power and reset buttons. There is ventilation on the left side of the case for the CPU with air duct inside and ventilation holes located where the PCI slots would be, there is also ventilation slits on the right side of the case as well. The Power and Reset buttons are located on the top of the case next tot he USB/Audio ports. Both sides of the case feature indentations as hand holds to help in removing the sides of the case, the M9 case also has an interesting front bezel where it extends out a bit on the bottom.
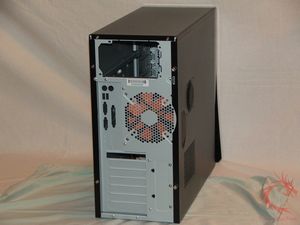
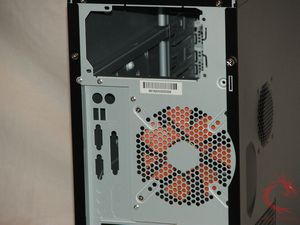
Moving to the back of the M9 case, we find the familiar configuration, place for power supply, I/O section, 120mm fan, and PCI slots. The left case side is held in place by thumbscrews for easy access or removal.
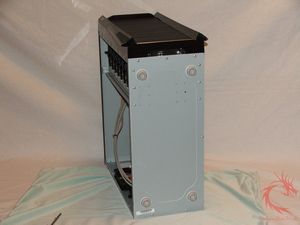
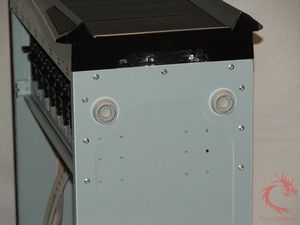
On the bottom of the case we find feet, we can also see how the bottom of the bezel is open allowing air to flow in to help cool your system.
{mospagebreak title=
A Better Look at Things
-Inside}
A Better Look at Things
-Inside:
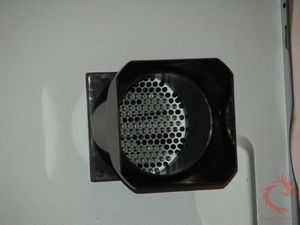
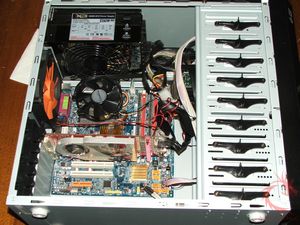
Ok, taking off the side of the case we can get inside, I already mentioned that the case side is held on with thumbscrews, this makes it much easier to get the side off. Once the side is off we can see the air-duct, it is removable so those with larger CPU coolers can take it off if need be.
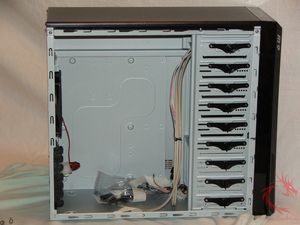
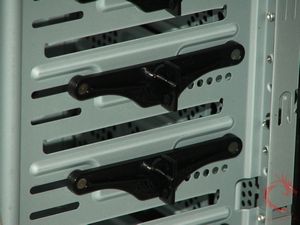
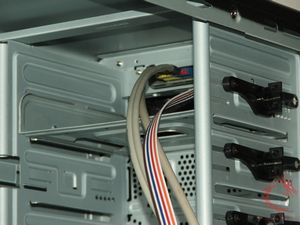
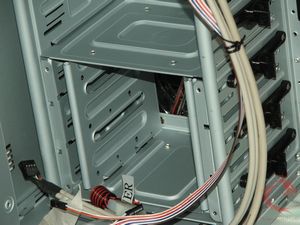
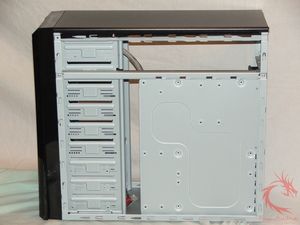
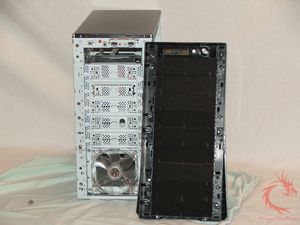
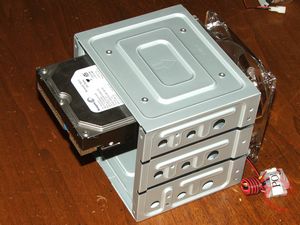
Inside of the M9 it's very spacious, and sort of odd looking at first glance, one expected to see the standard case configuration with 5.25” cage at the top and 3.5” cage near the bottom. The M9 is basically one large 5.25” cage, this is a cool feature actually because it allows you to move the HDD cage wherever you wish for better compatibility with your own system. The 5.25” bays use a tool-less system with plastic fasteners, these work well and seem to hold things in place tightly.
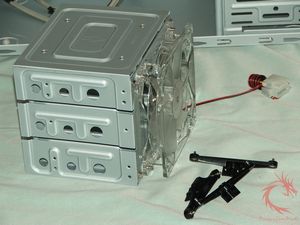
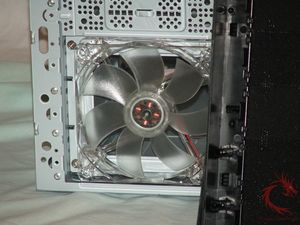
The HDD cage is removable as I mentioned, it also features a 120mm fan attached to it to help cool your hard drives.
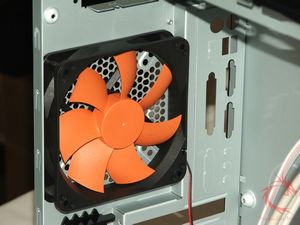
Thermaltake included their own orange and black 120mm fan for the exhaust, there is a tool-less PCI system as well, but we'll get into that in the next section.
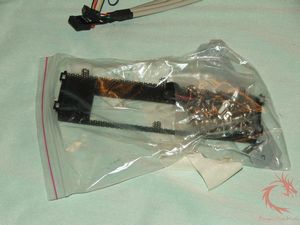
The motherboard tray is not removable, some might care about that, to me it doesn't matter either way. We find an accessory bag included and of course the standard motherboard connection for power, reset, hdd activity, USB, audio etc. Inside the accessory bag is also an adapter to be used with an external 3.5” device such as a floppy drive or card reader.
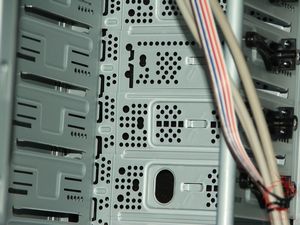
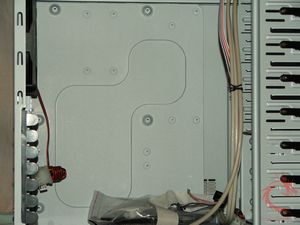
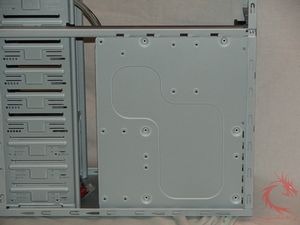
Removing the right panel shows us the back of the motherboard, there is a bit of room back there to route cables if need be.
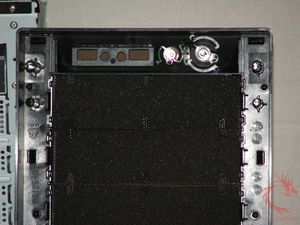
You'll need to pop the front bezel off to get the 5.25” bay covers removed, they're just held in by clips but it's much easier with the bezel off to remove them. Of course once the bezel is off we can get a look at the inside, each 5.25” cover does have a sponge like filter on it, essentially making the entire front he case part of the ventilation/cooling system.
Installation, Testing and Comparison
For installation I installed my micro-ATX based system:
Gigabyte Motherboard
Intel C2D 6420
1x HDD
1x DVDrw
Connect3d X1800GTO Video Card
Ultra X3 800Watt PSU
The first thing you'll want to do is pop out the hard drive cage and install your hard drives, easy to do, a few screws and you're done.
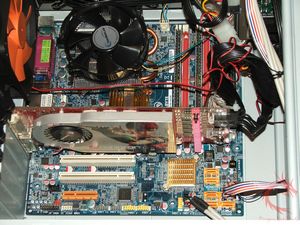
Of course after you put the HDD cage back in the case you can install everything else, I ran into no problems at all getting my components into the M9 case. The Ultra X3 800Watt PSU is larger than the standard power supply and it fit fine. The X1800GTO video card is also fairly large, and it had no problems fitting in either, but there might be a problem if the HDD cage was positioned near the card as the hard drives stick out of the cage quite a bit, but since you can move the cage I don't see any real issue here…
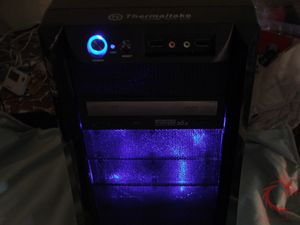
The front 120mm fan is lit by blue LEDs making for a nice presentation when powered on, the power switch is also encircled by a blue glow as well, and the HDD activity LED is also blue. So we have a black and blue theme going on here, and the fans themselves are relatively quiet.
My previous case that housed the same system is also a Thermaltake, it's the Matrix VX case, and comparing the two the temps were were similar with the M9 averaging about 1 degree Celsius lower so the M9 effectively helps to cool your system.
There are only three HDD bays in this case so that will limit the amount of storage you can have, but since the size of available hard drives is now one Terabyte and growing, that shouldn't be much of a concern.
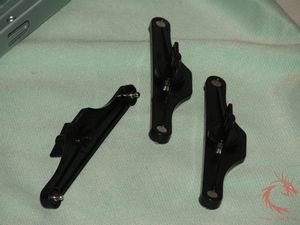
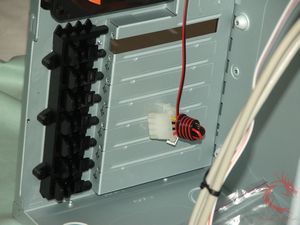
The Tool-Less PCI slots need some work, the system in place is not the greatest, it's difficult to use and doesn't really secure your PCI/PCIE cards that well. I would have rather seen just the standard screws holding my card in place rather than this system. You can of course remove the plastic fastener system, it's all one piece and just held on with a couple screws. Honestly I haven't found many of these Tool-Less PCI systems that I like…
The motherboard tray is not removable, some might care about that feature not being there but I personally don't care either way, so it's not a big deal to me…
Summary:
The Thermaltake M9 case is by no means a basic case, at first glance it might seem rather basic, but it's not, there are many things to like about this case.
The M9 case is very well made, and features everything you need to make a nice home for your system. It's spacious, and the ability to move the hard drive cage around is a big bonus, it makes the case compatible with any type of system and larger style video cards.
DragonSteelMods gives the Thermaltake M9 PC Case a 4.5 out of 5 score.

Pros:
-Well made
-Easy installation
-Lots of room inside
-Lots of drive bays
-Looks cool
-Good ventilation
Cons:
-Only 3 HDD bays
-Tool-less PCI slots could be better designed
-Motherboard tray not removable
I would like to thank Thermaltake for the chance to review the M9 Case and for their continued support of DSM.
review# 428


