Installation, Testing and Comparison
Before we get started here are my system specs:
Motherboard: Asus P8Z68-V Pro/Gen3
CPU: Intel Core i7 2600K
Video Card: HIS Radeon HD 7850
Ram: 12gb mixed OCZ Gold and Kingston HyperX
Case: NZXT Switch 810
If you read my Noctua and Phanteks reviews then you’d know my motherboard is arranged to be rather tight around the CPU socket. When you’re installing the Performer you’ll need to remove the rear fan from your system as you’ll need the space for the radiator and fans.
You could possibly use your own fan if you wanted though and as long it’s the same size.
Obviously I’m installing this on a socket 1155 board so that’s the parts I gathered to get everything installed.
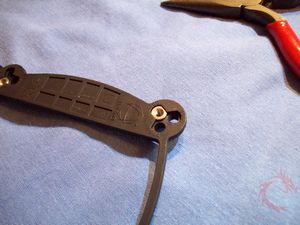
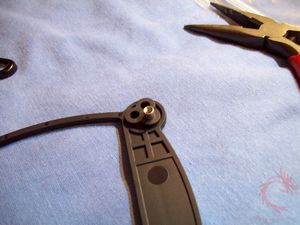
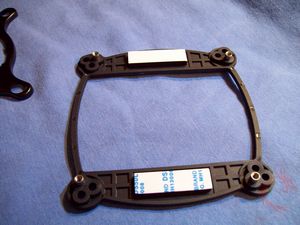
You basically need to assemble everything before you get start with the installation process. The first thing I took care of was assembling the backplate which involved just pushing the pins through the plate.
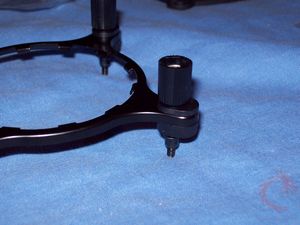
Next up you’ll need to install the actual bracket that attaches to the water block. This involves screws and pins and lining them up correctly on the bracket.
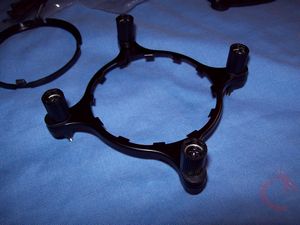
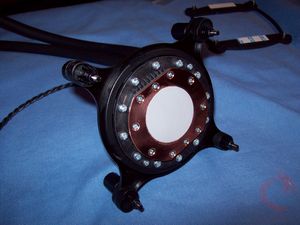
The next step would be to install the bracket onto the water block, this involves the bracket with the screws and the circular piece I showed you above. They just clip together basically.
The final things you’ll need are the long screws and washers to install the radiator and fans in or two your case.
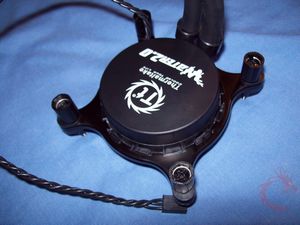
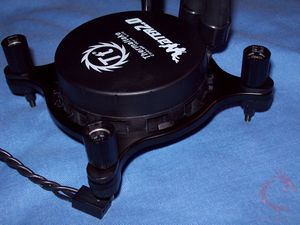
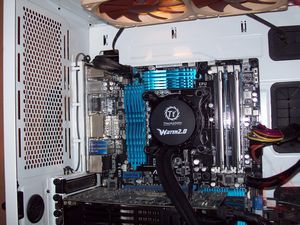
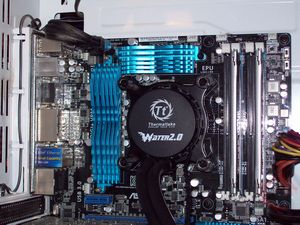
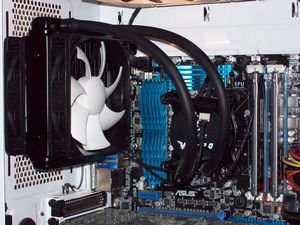
Here’s everything installed for you in the order I did it. The first thing is the water block then the first fan and radiator and lastly the second fan.
Installation is easy and fairly straight-forward, just follow the instructions and you won’t have any problems. I’m surprised it fit on my board, but it did, just barely though as the brackets were very close to the heatsinks.
For testing I use Orthos Stress Prime to get full load on the CPU, four instances of it actually. I also use CoreTemp to monitor and record temperatures.
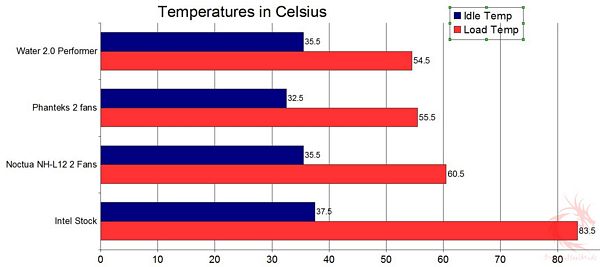
Ambient temperature was 24C (+/- .3C) during testing. I average out the temperatures I get to get a single temperature to use for the results graph shown below.
For comparison I put it up against the Intel Stock Cooler, Phanteks cooler and the Noctua NH-L12.
As you can see the Water2.0 Performer does very well, even up against the top air coolers. I’ll be honest I didn’t expect the Performer to do as well as it did so I was pleasantly surprised by the results here.
You might notice I didn’t do any overclocking, the Performer isn’t made for that it’s made just basic liquid cooling for someone who wants to get into it.
This is taken from the Thermaltake site about the Performer: Good -Great for anyone looking to get a first step into liquid cooling at the lowest possible cost of entry.
Noise levels are very low when at idle and doing your everyday tasks, under full load like during my testing the fans did get audible but just barely really. I like a quiet system and the Water 2.0 is quiet at all times really.


