Installation, Testing and Comparison
Most KVMs that I have encountered include cables. This model does not. So the more computers you hook up, the more USB, VGA video and audio cables will be required.
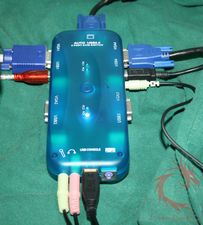
For my testing, I hooked up two computers sharing a Razer Copperhead mouse and a Razer Tarantula keyboard, a set of speakers and a microphone
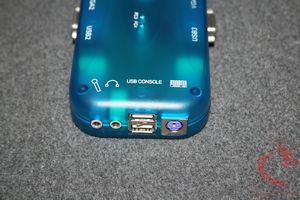
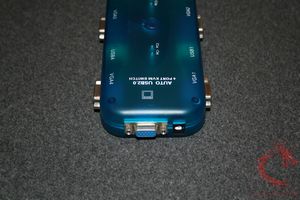
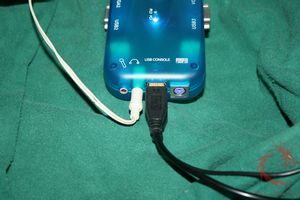
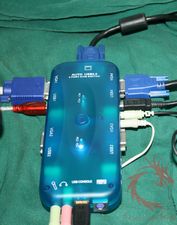
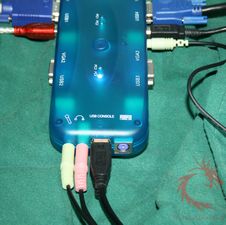
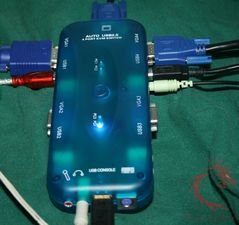
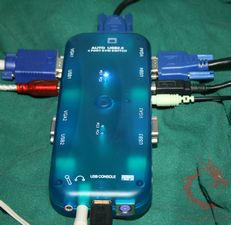
The VGA cable from the monitor attaches to the shorter side of the device, while on the opposite end, one plugs in the audio, USB and PS/2 cables as needed.
Next, install the VGA, USB A to B cable, and any audio 3.5mm double ended cables to the USB 2.0 4 Port KVM Auto Switch and to one’s PCs. When only one PC is active, the USB 2.0 4 Port KVM Auto Switch should auto detect which device is powered on. When multiple computers are powered, then the button in the middle of the device allows the KVM to cycle through the active computers.
Another way to cycle through the active machines in by hitting Scroll Lock on the keyboard once and then in combination with either the up and down arrows or the numbers 1,2,3 or 4.
The USB 2.0 4 Port KVM Auto Switch allows a maximum VGA resolution of 1920 x 1440, which should work with most monitor set ups.
The USB ports are USB 2.0 enabled, allowing maximal throughput when needed.

